Does the carpet match the drapes? DIY: How to create a driftwood finish

UGD_disley_livingroom3.jpg

A lesson in layering color techniques to create a driftwood finish.

I love a good hack. It’s not completely custom, not completely out of the box but 100% one of a kind. This project was for a client’s living room work station. We purchased the bookcase and filing cabinets (Wayfair’s Chambers standard bookcase in chalked chestnut) that had a rustic grayish-white washed oak finish and paired it with birch plywood tabletops that wrapped around the walls. How to match or at least compliment driftwood oak with birch wood? I could have done either 1. stained the birch in a contrasting color to the oak or 2. match the birch wood to look like the bookcases grayish-white finish. Though it was dicey, I chose the latter.

The dilemma was the driftwood oak bookcases were a replica of a weathered look and I wanted to replicate the replica. One known factor, only the birch wood could be altered since the purchased bookcase and cabinet had a sealed finish on it. So, I tried a couple different treatment techniques on the birch wood.. First just staining, then just pickling. Separately as a single treatment, they looked wrong. Finally I settled on staining and then layering with a pickled finish….ding ding ding!

Do the purchased bookcases and the birch table tops look like they’re cut from the same tree? You be the judge.

Step by Step tutorial

Materials: (all can be purchased at your local hardware store) stain, white interior paint, staining sponge, rag

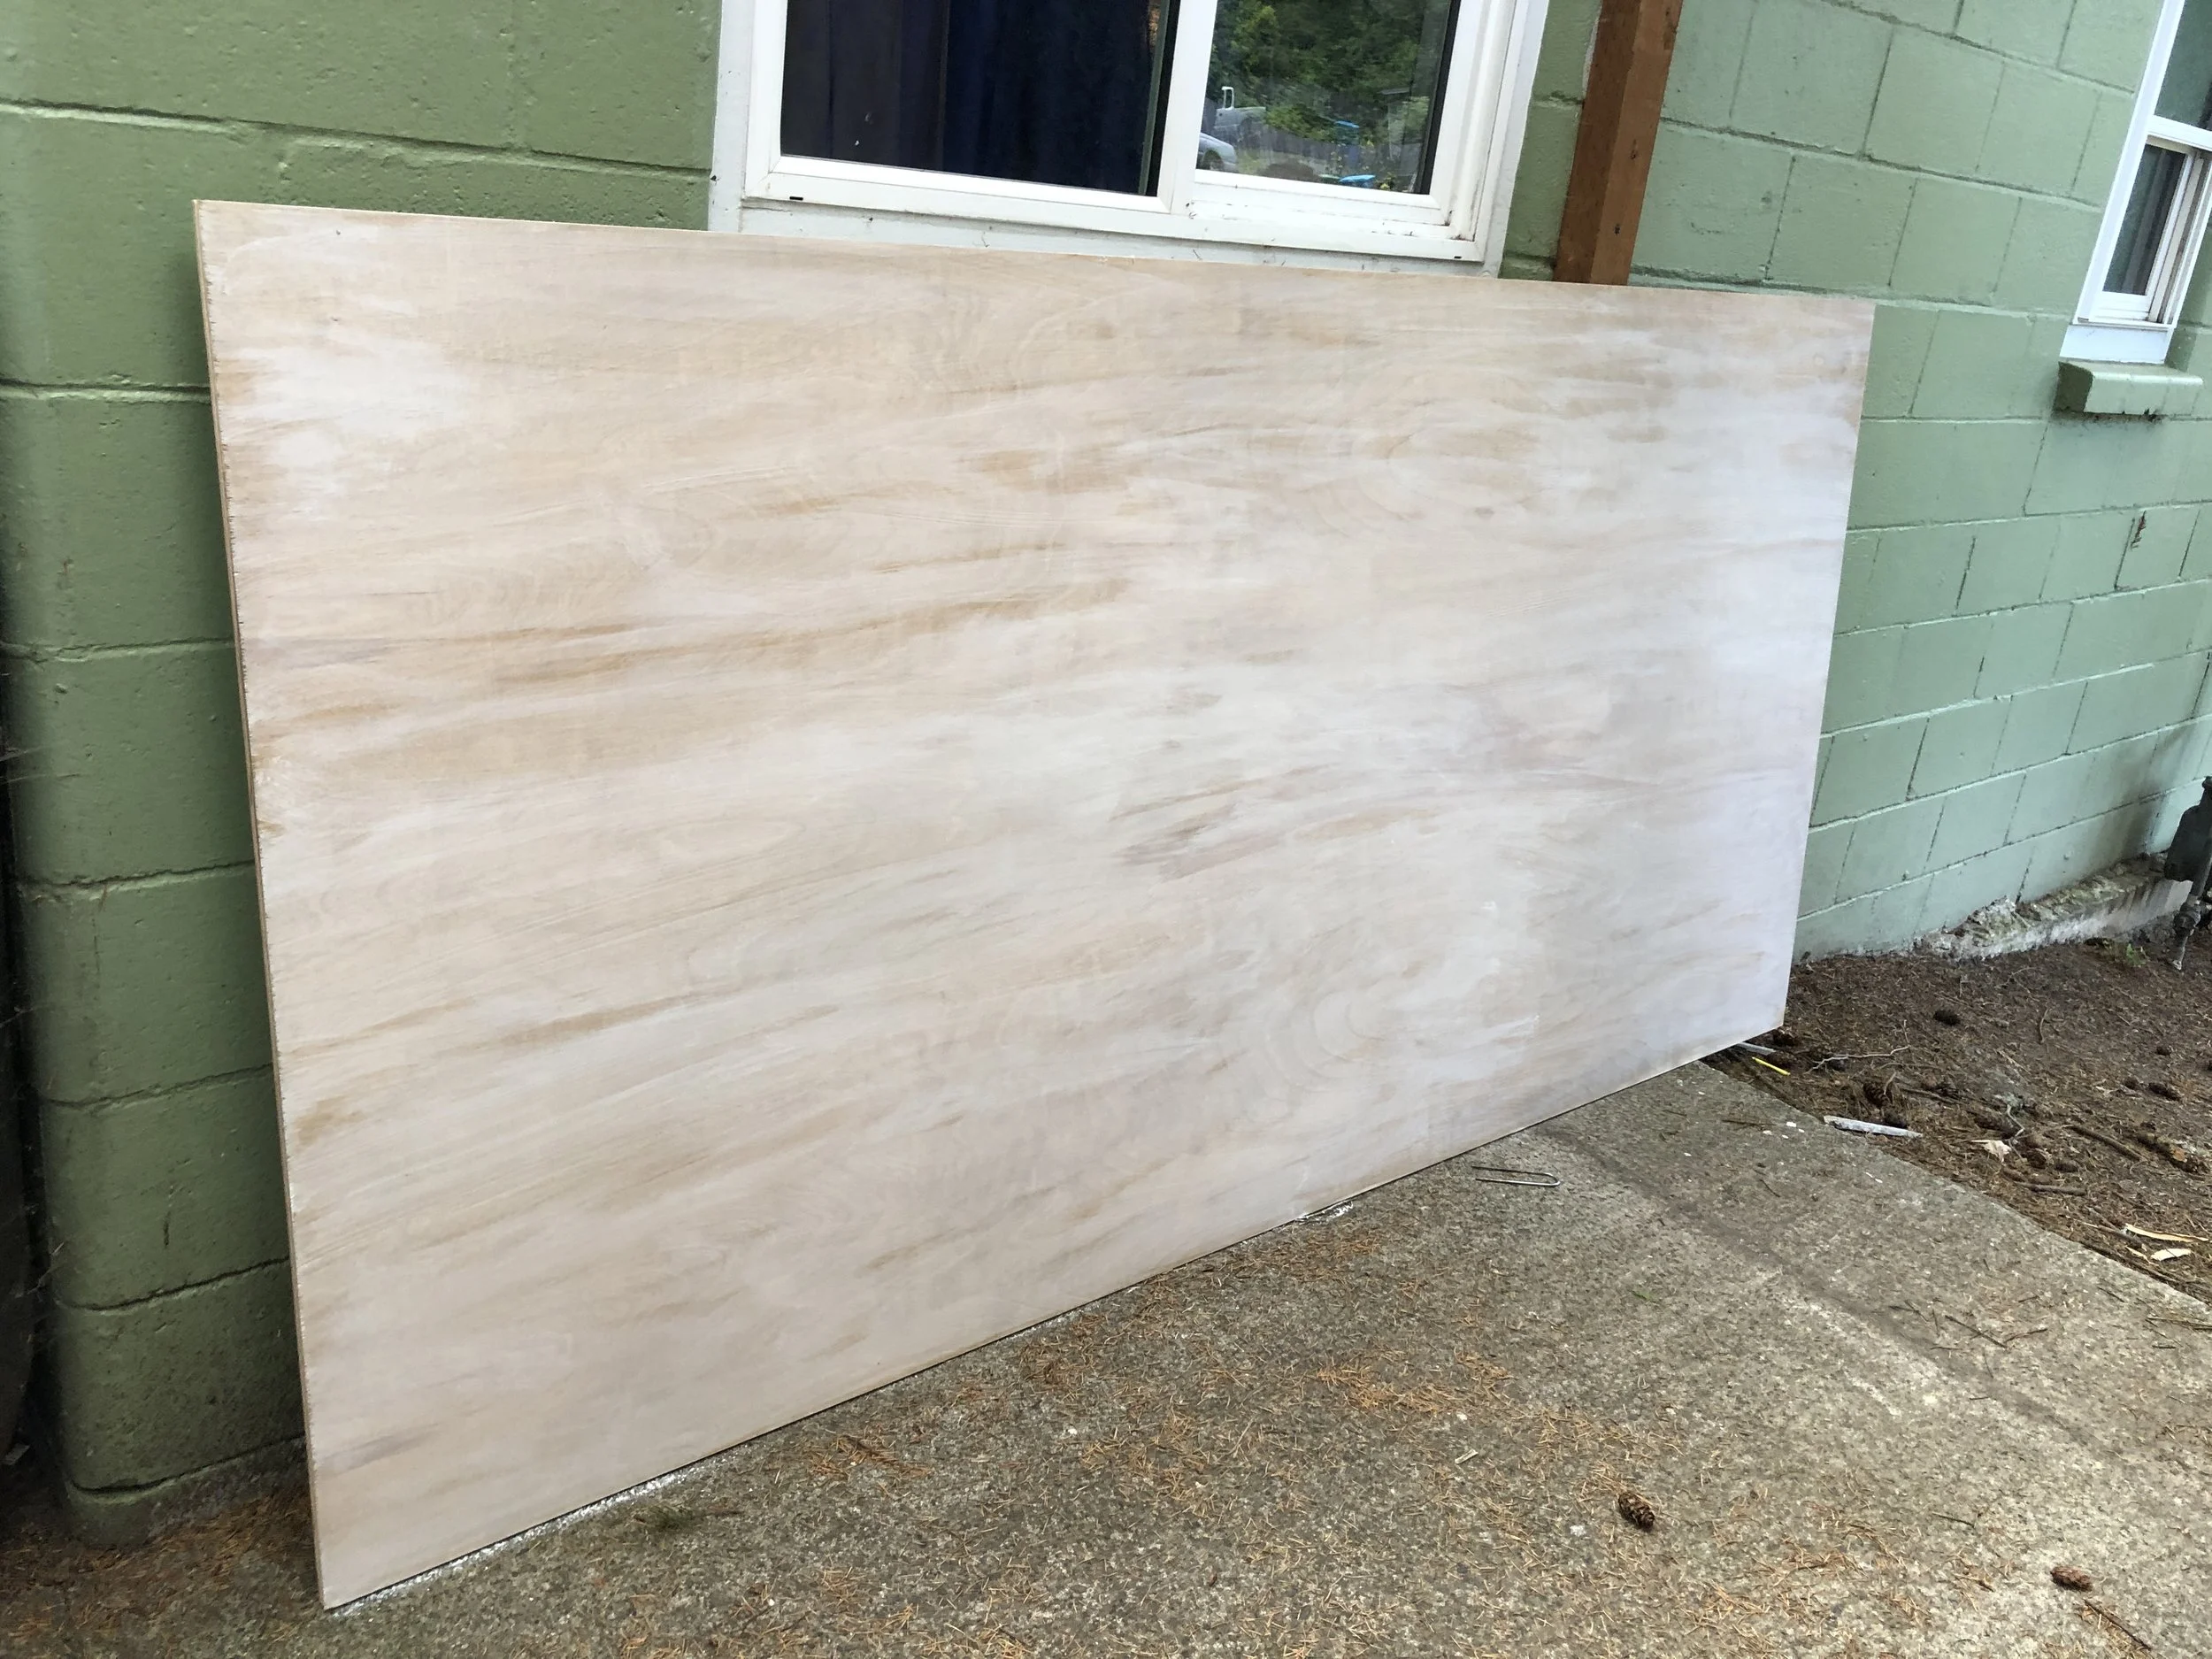
Step 1: Staining the wood with Minwax weathered oak from my local Lowes. (here’s a tutorial on staining) This alters the color of the birch wood to a grey wood.

UGD_pickling4.JPG

Step 2: After letting the stain soak in and dry, I’m able to apply my 2nd treatment which is to layer on a pickled finish to give me that greyish- white wash. (here’s a tutorial on pickling).

Tip: use a drier sponge when staining and pickling. Wipe off excess and drips quickly so to have streaky look

DIY: How to refresh an old chair

A chair found on the side of the road gets a new life!

I kid you not that I found this gem on the side of the road- I literally did 2 U-turns in my car after deciding that I had to pick it up. This type of chair is a pretty standard run-of-the-mill mid century modern chair. Most people have seen this chair before, whether at uncle’s house or in the back corner of the garage. BUT, you’ve never seen it look like this before! This is a really easy upholster DIY project. After picking out a cool sturdy fabric (I got mine from Spoonflower in the denim cloth), it takes only a couple hours to finish the work. Heres the breakdown in 5 basic steps:

Tools needed: Sandpaper (150 or higher grit), drop cloth, gloves, rags, stain, clear coat, paintbrush, drill & drill bit, flat head screw driver, needle nose pliers, staple gun

Step 1: Unscrew the cushion from the frame

Step 2: Use sandpaper lightly scuff up the wood frame so to remove the existing shiny finish

Step 3: Wearing gloves, use a rag and dip in the stain then work the stain into the wood. Be sure to wipe off any excess stain or drips. Wait for stain to dry then add clear coat. Also wait for clear coat to dry.

Step 4: To reupholster the cushion, use cushion as a guide for new fabric to wrap around. Use the staple gun to staple fabric all around the cushion. Pull, tuck and staple.

Step 5: Lastly, reattach the cushion to chair frame. Use the drill and drill bit to drill a starter hole for screw to go into. After drilling in starter hole into the frame of the cushion, screw cushion into the chair frame securely.

UGD_canechair_web.jpg
UGD_canechair_BA.jpg

Do you have an old chair that could use some love? Check out my step by step video tutorial on how I refinished this chair.

https://youtu.be/o2TAMkn7Zdc

and remember - PULL, TUCK & STAPLE

Style: 3 strategies when styling your space

UGD_hutch_instagram.jpg
  1. Open shelving is for curated items only: It’s a fallacy the open shelving creates more storage space. It’s only more storage for beautiful items like artwork, plants, candles, vintage books. It’s not a space to store junk or paperback books. Honestly a lot of the items that live on my open shelves live there permanently and are never moved.

  2. Bring the eyes up: Number one mistake of people when they’re selecting furniture for their space is they keep it all at eye level height. This makes a room feel small and cave-like. Find some items to bring your eyes up. Think about how to bring in furniture that allows the eye to see the whole entire space - low, medium and high eye range.

    High eye range: Consider a tall bookshelf, hanging a plant from the ceiling hook,

    Medium eye range: these items are already your sofa, coffee table, media stands

    Low eye range: Consider baskets on the floor, shoe cases or benches are great ways to have beautiful items that rest on the floor because if we’re all honest, if you don’t find a place for your clutter it will end up on the floor.

  3. Create a neutral baseline: I have lots of clients that want to add color everywhere. This may be a bit controversial because I know so many designers who do color so well. It’s all about editing color not throwing rainbow at a room and hoping it’ll be magic. Make space for that colorful piece. Neutral colors give your space that elegance and sophistication that you can build on. Start with a blank canvas and pick neutral colors (gray, white, black, cream, tan) for large furniture items like sofa, arm chairs, coffee table. Concentrate on bringing in textures (wood, metal, glass, concrete) rather than color. Then add in color and patterns with your accessories like throw pillows, rugs, wall art, throw blankets and baskets. Trust me then the magic will come!

(photo credit: kismet_house and idealfamilyhouse.com)